TV Cabinet: Drawer Dovetails

I’m looking forward to woodworking class tonight.  Last week I started to cut the dovetails for the six drawers on the tv cabinet. It took me a little while to figure out which way the boards go in the jig but by the end of class I had it down. Cutting the dovetails was really fun.  I got 2 drawers done last week and have 4 left to go.  I’m excited to finish the dovetails for the other drawers tonight and then work on finalizing what my drawer fronts are going to look like.

Drawer Sides
Drawer sides after having a groove for the drawer bottom routed out. Dovetails are next!
Marking drawer to be routed
Lining up the joints and marking them to ensure they get routed in the correct order and match up.
All lined up and ready to be routed
All lined up and ready to be routed.
Routing the dovetail
Routing the dovetail.  It takes a few passes but it’s easy to follow the guide.
Routed Dovetail
The finished dovetail as it was cut
Drawer Dovetail
A finished dovetail fitting as it should, yay 🙂

Woodworking: Modern TV Cabinet

I haven’t blogged about it yet, but last fall I started building a TV cabinet.  It’s my most ambitious project yet and I love working on it.

The cheap MDF TV stand we got at Target when we were newlyweds is nearing the end of its life (small children will do that) and I’m at the point in my life where if I’m going to get a new piece of furniture I want to really love it and for it to last–and if possible for it to be made out of solid walnut 😉

I’m a fan of mid-century modern design and so I wanted to design something that would have a lot of storage for our DVDs and still look good.  I went with a design that has a section in the middle for adjustable shelves for electronics and then 3 drawers on each sides for DVDs and games.

So these pictures are from last semester.  We’ve only had a few classes so far this semester and I’ve been cutting down wood for my drawers.  At tonight’s class I’m cutting the dovetails for the drawers.  I’m really excited!

Finished (with the dollhouse and also this week!)

The dollhouse bookcase has landed!  I’ve been working hard the last few weeks to get it finished and on Wednesday my friend Amy helped me pick it up from the shop with her truck.  I just need to nail the back on and then it will be 100% finished.  I’ll take some pictures with my real camera and do a making-of post in (if we’re being honest) a couple of weeks. 

Mimi immediately started moving some of her ponies and Little People in.  Fun tidbit: she calls Wonder Woman, “Wonder Human.” It’s the best thing ever and I will die a little inside when she starts using the right name. 

This is one of the funnest things I’ve seen online in a while and I’ve been keeping it open in a window on my phone FOR WEEKS as a reminder to post here: If John Cho Were Your Boyfriend

This is also funny (but probably not safe for work/kids).  I got in a little trouble because the kids caught me singing part of it around the house and immediately started mimicking me.  Oops.

Kids can get a free book from Barnes and Noble if they read any 8 books.  E is excited about this.

I hope you have a nice weekend.  E just started spring soccer so we are going to his game tomorrow (unless it gets rained out) and then N and I are going to a comedy show in the evening.  And somewhere in between all that I’m going to attack a mountain of dirty laundry which I am oddly looking forward to.  Cheers!

Dollhouse Bookcase

dollhouse_zpslusscb4s-1
For the past several years I’ve taken an evening woodworking class at a local college.  I really enjoy it.

This is the last week of class and I’m hustling to finish my project this semester–a dollhouse bookcase.    I based my project on these plans from Ana White’s website.  I made a few modifications but it was nice to have plans to follow.  It saved me a lot of time.
I’ve been posting a few pictures of the building process on Instagram but I’ll round them up and get them posted here soon.

For David

Back in February I made this pen-and-mechanical-pencil set for my brother David‘s birthday. He’s a big shot at Union Pacific so I used a buckeye burl wood which I thought looked rather executive-ish.

Lately in woodworking I’ve been making some drawers to fit into E’s closet organizer. We really need the storage but they’re nothing pretty to look at yet. After I get them put into his closet I’ll show you a before-and-after.

Lately in woodworking class

A new semester of the woodworking class I sometimes take started a few weeks ago. This time around I’m working on a few small projects rather than a big piece of furniture. So far I’ve been having fun making some pens.

I hadn’t used the lathe before so I’m enjoying learning something new. Another nice aspect of making pens is that I get to use some lovely exotic woods that are too expensive to use for larger projects.

And perhaps most rewarding, turning a pen comes as close to instant gratification as you’ll find in woodworking–it only takes a little over an hour to make each one. I love leaving class with a finished project in my pocket.

Spice Cabinet Completed!

A couple of people reminded me that I never posted pictures of my finished spice cabinet (previous posts about it here (1, 2, 3, and 4) I made an effort to get it hung on the wall before Mimi was born because when we have a new baby not a lot gets done around here, but then I forgot to post about it. So here it is!

In order to have a place to hang the cabinet we had to have to rewire our thermostat and move it around the corner–WORTH IT.

It’s nice to finally get our spices off our counter and into their new home.
Here’s a slideshow I put together of some of the steps I took to build the cabinet.

Now that the cabinet’s finished I’m beginning to daydream about what I could build in woodworking this fall–I’m toying with the idea of making a dining table or an entertainment center. I guess we’ll just have to see.

Project: Chessboard

I’ve made my mom a cutting board and a jewelry box but hadn’t had the chance to make a woodworking project for dad yet. So when it became apparent that I would have a little extra time after finishing my spice cabinet I made this chessboard for him out of curly maple and mahogany.

I found some chess pieces online that kind of matched and shipped everything off to my dad for Christmas. Apparently my dad was very impressed with the pieces (and the wooden box they came in) because after saying how much he liked the gift he went on and on about how nice the pieces were and asked me if I made them and the box. I was a little surprised and after I stammered, “Um, no…but I made the fancy chessboard by hand!” there was a little awkward pause. Ah, good times!

After everything’s said and done I’m happy I got the chessboard finished in time for Christmas. It came together pretty quickly and it was fun to make. My dad’s a really great guy; with his health issues it felt good to do something nice for him.

Spice Cabinet: Update 7 (or “Woo-hoo! It’s finished!”)

Yesterday was the last day of woodworking class…and I finished my spice cabinet! I got the hinges, cabinet back, and knob put on and the cabinet’s ready to hang on the wall.

Me (and my 31-week belly) with the finished cabinet.

I need to have a small drywall job done before I can hang the cabinet in our kitchen so right now it’s sitting on our kitchen table where I lovingly look at it whenever I walk by.

I’m planning on putting together a slide show of the start-t0-finish process of building the cabinet and will post it when it’s finished.

(Previous spice cabinet updates here: 1, 2, 3, 4, 5, and 6.)

Spice Cabinet: Update 6

Last night was the second-to-last day of woodworking class. I finished sanding my dad’s Christmas present and my instructor put a coat of lacquer on it. He also put the last coat of lacquer on my spice cabinet.

My instructor spraying the cabinet box.

It’s great to have access to a spray room (when I’m not pregnant) because it’s sooo much nicer than applying finish by hand in my garage and having to worry about cleaning up.

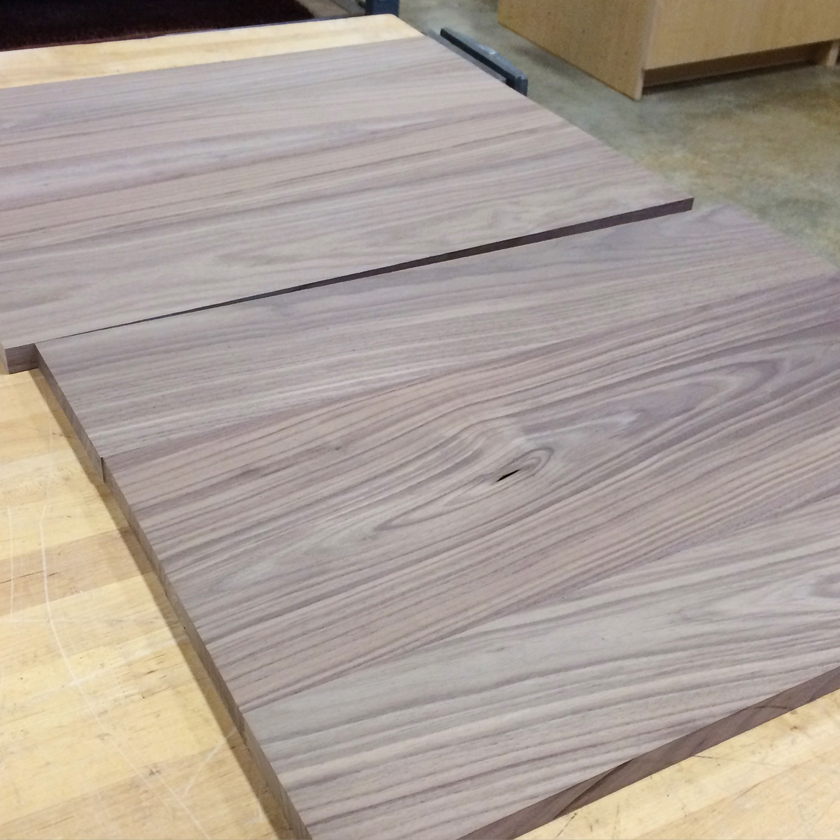
Here’s a picture of the door in between coats. The lacquer really makes the wood grain pop.

It was nice to have a bit of time left over at the end of class while I was waiting for the lacquer to dry instead of rushing around like I normally do. (And it’s only taken me 5+ years to learn how to pick a realistic project and manage my time well!)

My instructor paid me a nice compliment at the end of class. He said he was impressed with how quickly I put together my dad’s present on my own and that it seemed like I had improved a lot this last semester. Being the recovering teacher’s pet that I am it made me feel great.

We don’t have class next week because of Thanksgiving but the week after that I’ll be installing the hinges on my cabinet, attaching the back, and bringing it home!

(Previous spice cabinet updates here: 1, 2, 3, 4, and 5.)
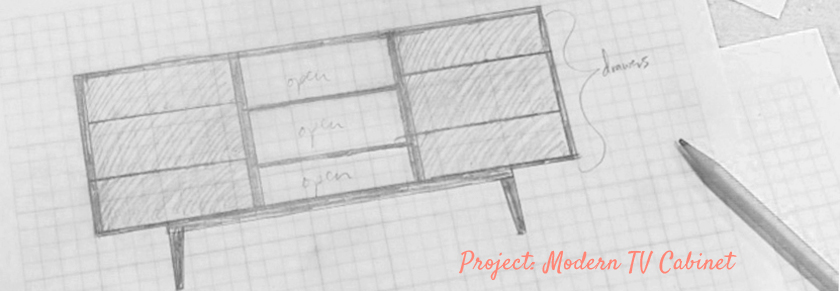
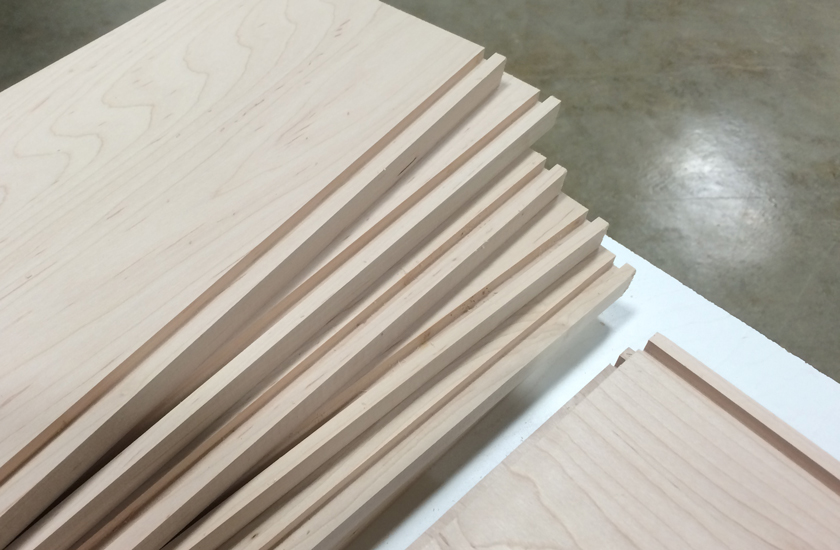
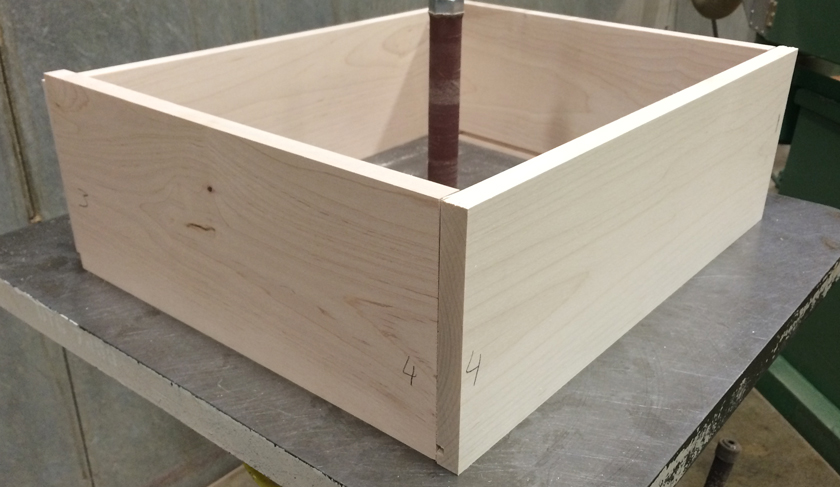
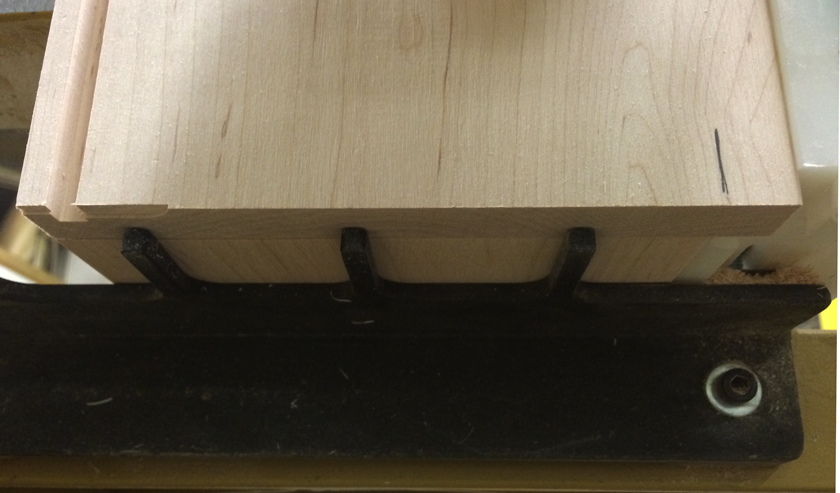
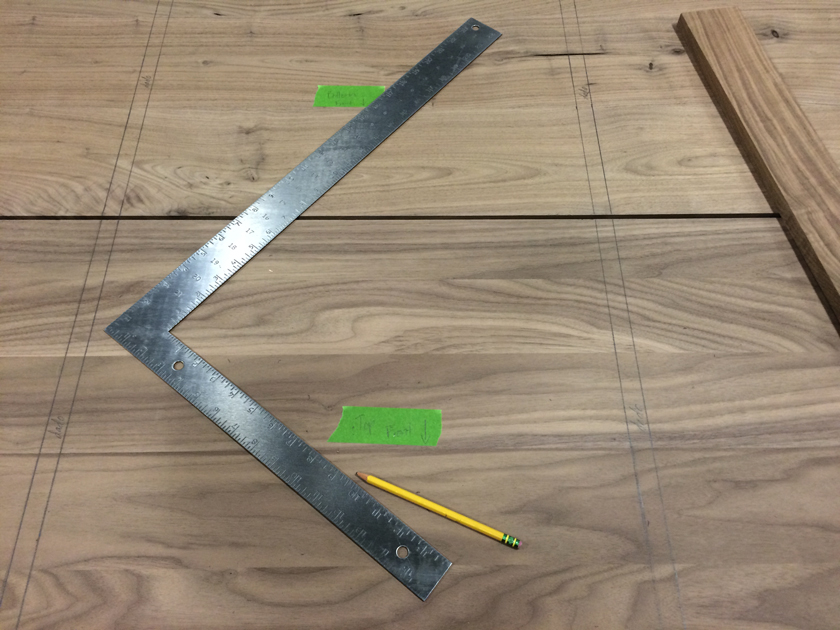
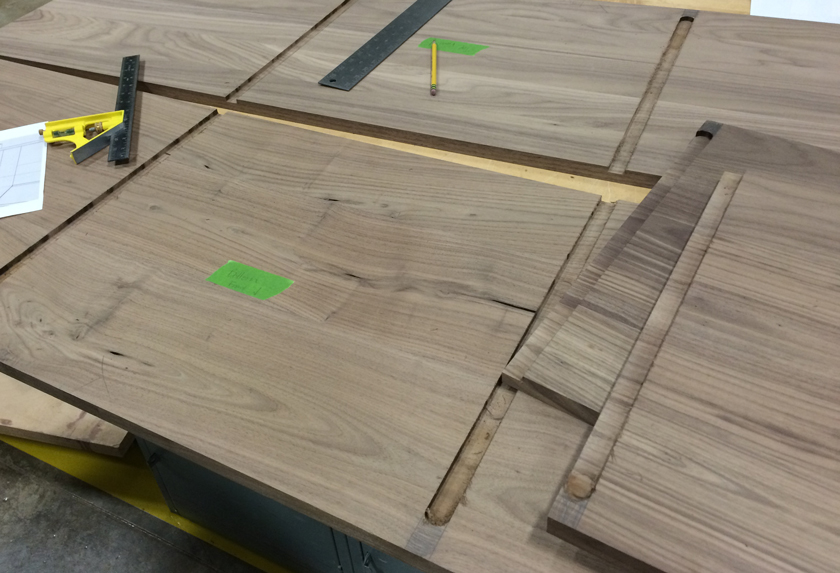
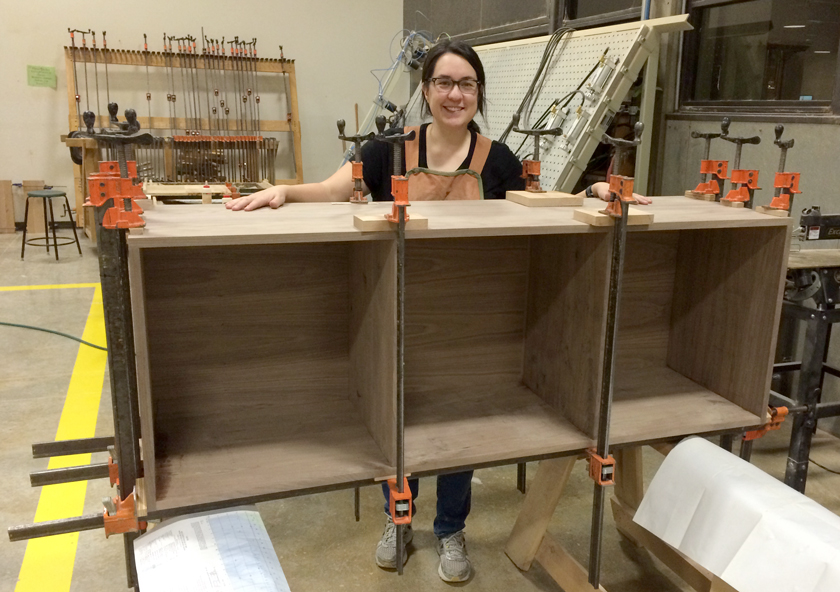