Woodworking Fall 09: Weeks 1 and 2

Last night was the second week of woodworking. I didn’t post about week 1 yet so I thought I’d post pictures from both weeks today. I hadn’t quite figured out how to fix my jewelry boxes so for the first two weeks I worked on cutting boards.

The lumber: (from left to right) walnut, cherry, and maple.

I cut the wood into strips of varying widths.

And glued the strips together.

Then last night I sanded the panel smooth and then cut it into strips.

I flipped every other strip around (to make the pattern) and then glued them all together.

These cutting boards are kind of addictive. There’s a lot of saw work and sanding involved but I think they’re really fun to make. I had some leftover wood and so I started another one.

Steven tagged along with me to class the last two weeks. I thought he might be bored but he wanted to go again last night so it must have been kind of fun for him.

I’m starting to get excited

Yesterday was my first day of woodworking class. Even though I’m still a little frustrated with the boxes I need to finish I’m starting to get excited about this semester. My priorities this term are

  1. Finish the jewlery boxes.
  2. Make myself a cutting board. (Last year I made some for Christmas gifts and liked how they turned out. But I ended up not having one left over for myself and I’d like one.)
  3. Make a toy for E. I found plans online for the toys below and think they’re cute AND doable. E is mad for anything with wheels and so I think he’d really like this bulldozer.


I don’t know if I’ll finish all three projects but I’m pretty sure I’ll at least get 1 and 2 done (famous last words, I know). I’m a pretty slow worker because I tend to make a lot of mistakes. I guess we’ll just have to see. I’ll try and take pictures and post about my progress as it goes.

Seriously Cute Crochet

I’m not very good at the needle arts. A couple of years ago I learned to knit. I made a couple of scarves, a few baby sweaters and two felted stuffed sheep. But I haven’t knitted anything in oh, say about 17 and a half months. My problem is that in order to overcome my natural laziness (which is quite strong) I have to fall in head-over-heels in love with a project in order to muster the enthusiasm to tackle it instead of spending all of my free time reading or watching tv or taking naps (by the way, I got to take that nap I wanted yesterday. It lasted for three hours and it was AWESOME).

Back to the crafts: I’ve had my eye on this book, Amigurumi World: Seriously Cute Crochet, for a while now. But I didn’t get it because I didn’t know how to crochet. But my multi-talented sister-in-law Mindy got the book and posted pictures of the adorable projects she had made from it. And, overcome by the cuteness of said projects, I ordered the book.

It you crochet (or want to learn) I really recommend this book. Amigurumi are little Japanese-style crocheted animals and the patterns in this book are really cute. The first project I’m tackling is the lion from the front cover. I bought my supplies at my favorite yarn store and got some free help from the sweet ladies who work there.

Since I never crocheted before, it took me a while to get the hang of it. I think I had to redo this part at least 5 times before it looked okay. This is all I have so far: the top of the head. I need to sew on the face before I finish the rest of the head. It’s pretty slow going, but once I get farther along I’ll take some other pictures.


I hope you have a lovely weekend. I’m looking forward to mine: E and I are about to leave for the gym and then this afternoon I’ve arranged for a babysitter and I’m going to go shopping for new silverware (the set we got at our wedding is pretty thrashed and somehow missing several spoons) and then get a massage. N gave me a gift certificate to a local spa and this seems like a great time to use it. And then tomorrow night N and I are going out to dinner and maybe a movie. I feel pretty cheerful: I think I’m finally out of the funk I’ve been in for the last few weeks.

I hope you have a great Friday!

Jewelry Boxes: Update 7

Wednesday was the last day of woodworking class. I didn’t finish assembling my jewelry boxes because I hit a pretty big snag. (As I am wont to do.) But more on that later. First let me show you want I did get accomplished.

My teacher recommended using dowels for the hinges of the boxes. So I taped the lids in place, using a block inside the box to keep the lid aligned correctly, and drilled through the slides of the box and into the lid.

Little did I know that this was when it all began to go wrong…

(A close-up of disaster in the making.)

Using a bottle cap to mark the half-circle for the front of the box.

Carving out the niche in front with a grinder.

The tray sitting inside; it slides side-to-side.

Everything looks good, doesn’t it? But there’s a little problem.

Because of the way the holes were placed, the back edge of the lid hits the box and can’t open all the way!

It was pretty frustrating to discover this little development an hour before class ended. My teacher didn’t really know how to fix it other than re-drilling the holes. So next semester I’ll either have to plug the holes in the lid with dowels and re-drill or make new lids (probably what I’ll do).
So that’s that. It’s a little frustrating to not finish the project. This is the first time I wasn’t able to use the shop outside of class hours at all (our new instructor’s policy) and I think I was really accustom to getting extra time.

But I did learn a lot of new techniques this semester, which was fun. Oddly enough, making the trays was probably the most satisfying part of this project. All in all and lid-problems aside, I think I improved quite a bit this semester.

Jewelry Boxes: Update 6

I know I haven’t posted about woodworking for a while. To tell you the truth, I haven’t had much to post about. Two weeks ago class was canceled because of the college’s spring break and then last week’s class just kind of frustrating. I didn’t accomplish as much as I needed to in order to finish on time and I’ve been a little bummed about it since class.

The main thing that I accomplished last week is that I got the tray and lid supports cut down to size and glued in. And I was also this close to finishing assembling the trays (but didn’t take any pictures of that part since, you know, it didn’t end up happening.)

I cut strips of walnut down to 1/4″ thickness and then sanded them to 1/8″ thick.

Then I cut the strips to the width of these grooves in the boxes.
(Not pictured: the strip I ruined because I brought the saw down on it before it (the saw) was spinning at full speed and it (the wood strip) got ripped out of my hand–safety first!)

And then I glued the strips in place.

I’m hoping that I’ll be able to finish assembling the boxes in the two classes I have left, but applying the finish at the shop is pretty much out of the picture now. I guess it won’t be too bad: the boxes are small enough that I can oil and lacquer them at home without too much hassle.

I need to stop moping about running out of time but it’s frustrating. If I had just one more class period I would be set! (Le sigh.) Oh well, I’ll buckle down and do my best to finish as much as I can.

Jewelry Boxes: Update 5

I made some nice progress at woodworking last week. The lids were taken out of the clamps and turned out okay. There were a few small gaps where the mitered edges had slipped a bit in the clamps but I don’t think they’re that noticeable.

The three lids, waiting to be sanded.

A close-up of the lacewood and curly maple lid.

Next I cut stock to size for the sliding trays inside the jewelry boxes. I used the table saw to cut dadoes for the tray dividers and rabbits on the sides.

How the tray will look (plus dividers and a bottom).

This Wednesday I’ll cut wood down to size to make tray dividers, glue the trays together, and sand the lids down.

Just three more classes left! (Yikes!)

Jewelry Boxes: Update 4

Class this week was kind of a comedy of errors. I carpool to class with my friend Kristin and this week when she picked me up I handed her a soda for the ride and tucked one into my purse for myself. As we’re driving down the street I feel something wet and realize that my soda is leaking. We have to pull over so I can pour an inch of soda out of my bag. My cellphone, wallet, and camera all got wet; the wallet and camera are okay but the cellphone is kaput. Out of the three things the phone was the most expendable since it was a cheap Go phone I got at Target but I’m worried that my sim card is ruined and I’ll have lost all of my contacts. *Grrr.*

Anyway, when we got to class I promptly realize that I left my plans at home! This, on top of the Great Soda Debacle of Aught Nine, was almost too much and I wasted a good 10 minutes fuming and pacing about in frustration. Then I calmed down and got to work on the box lids which I didn’t need my plans for anyway.

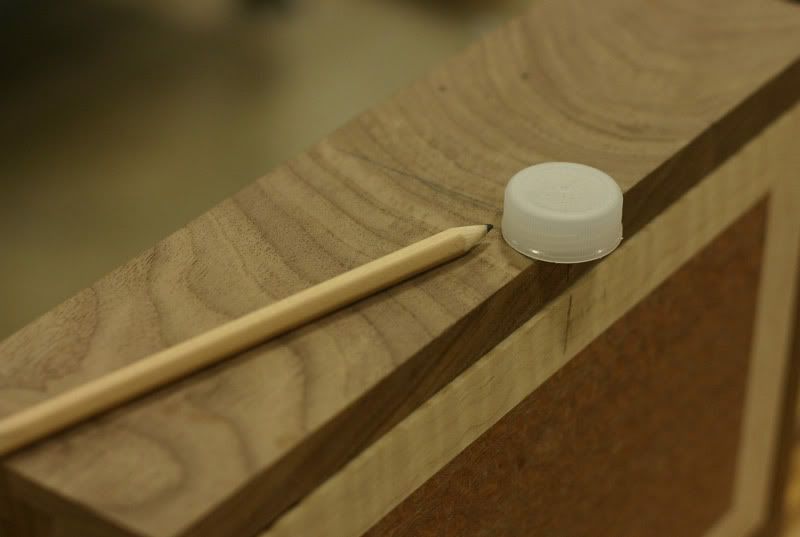
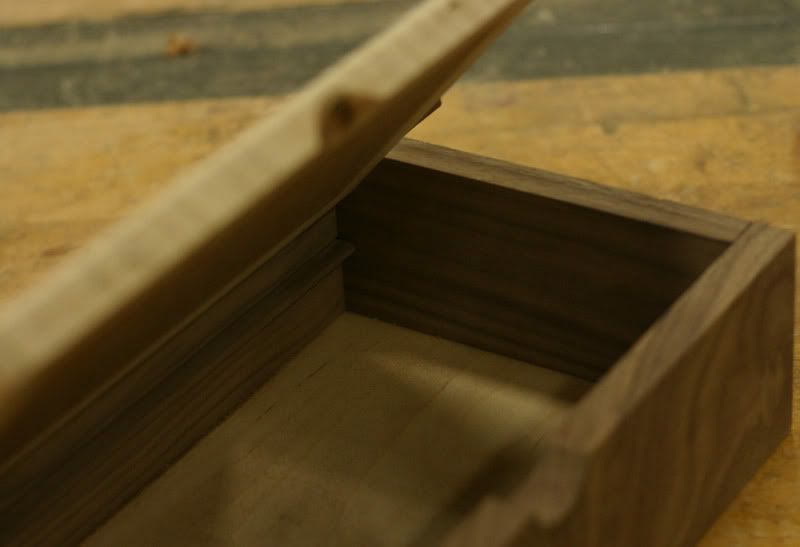
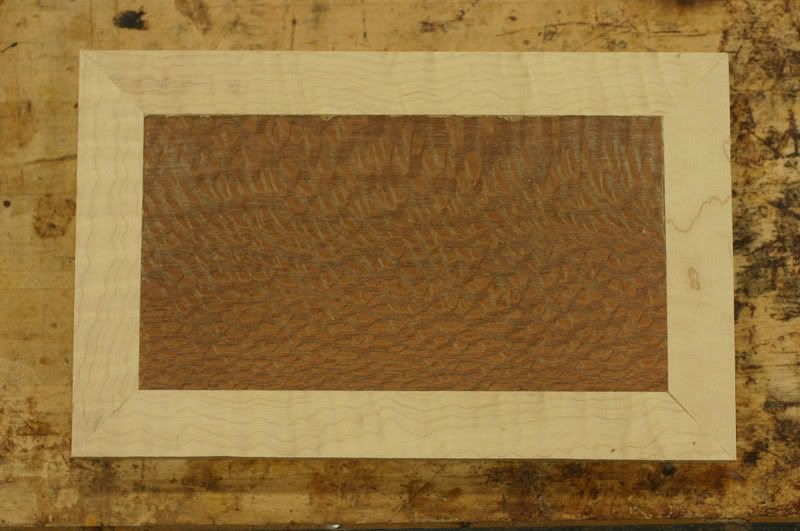
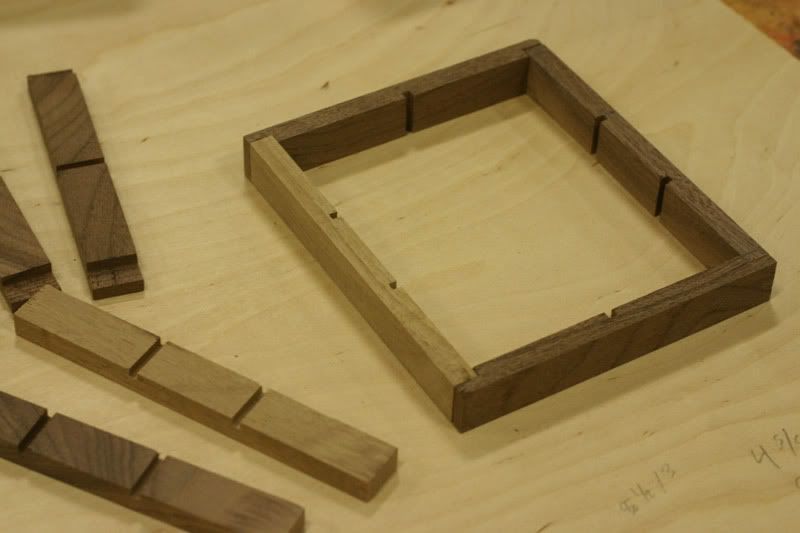
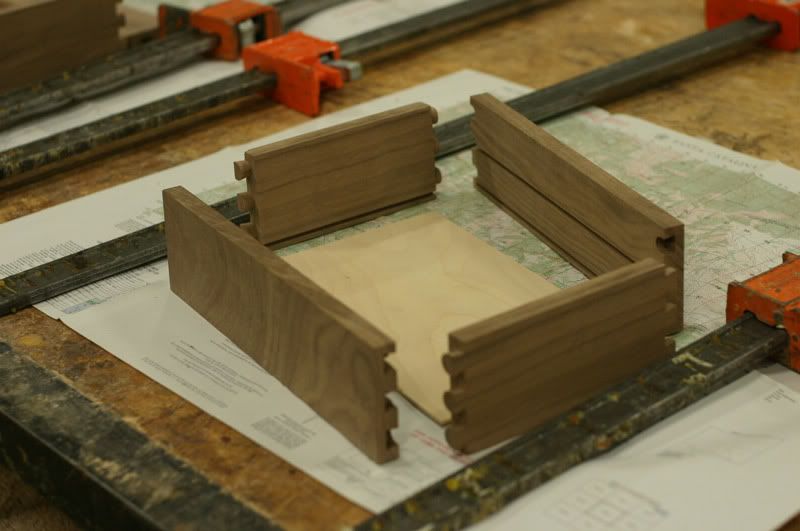
Instead of doing a true panel for the lid I am gluing the trim onto the middle panel and then sanding it smooth. I’m using African lacewood for the middle and some gorgeous curly maple for the sides of the lid.

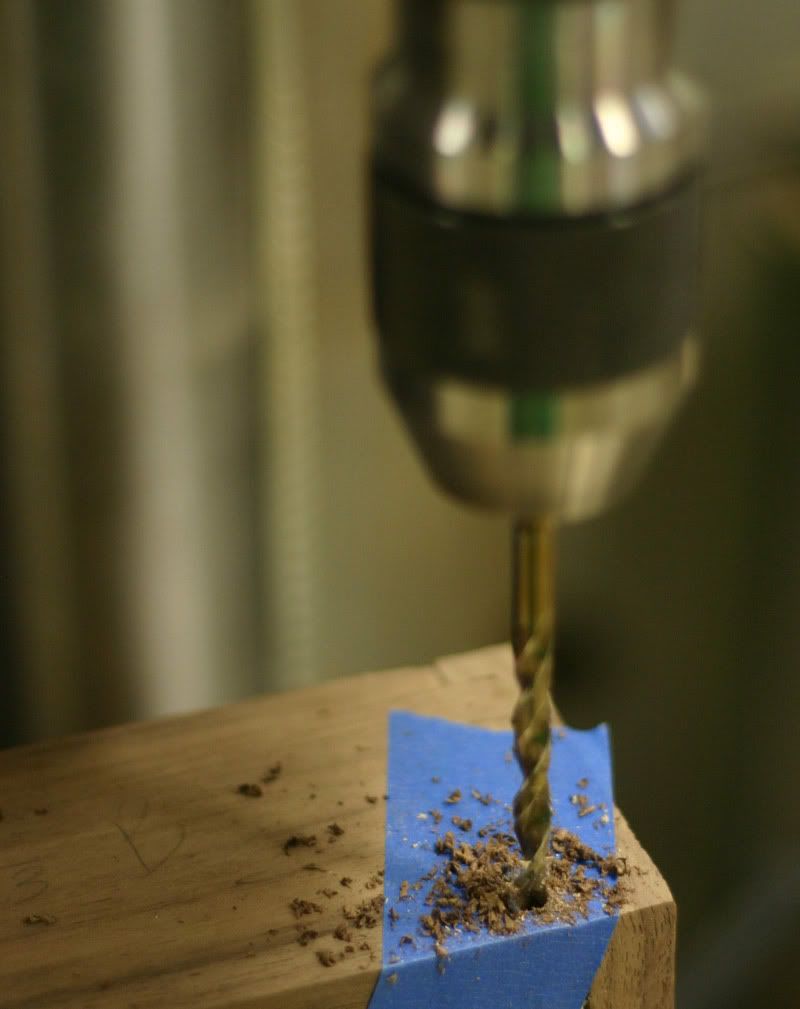
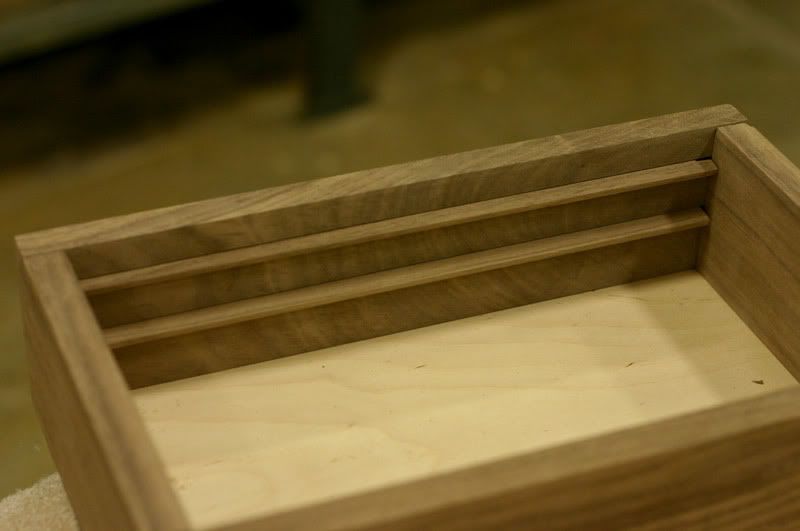
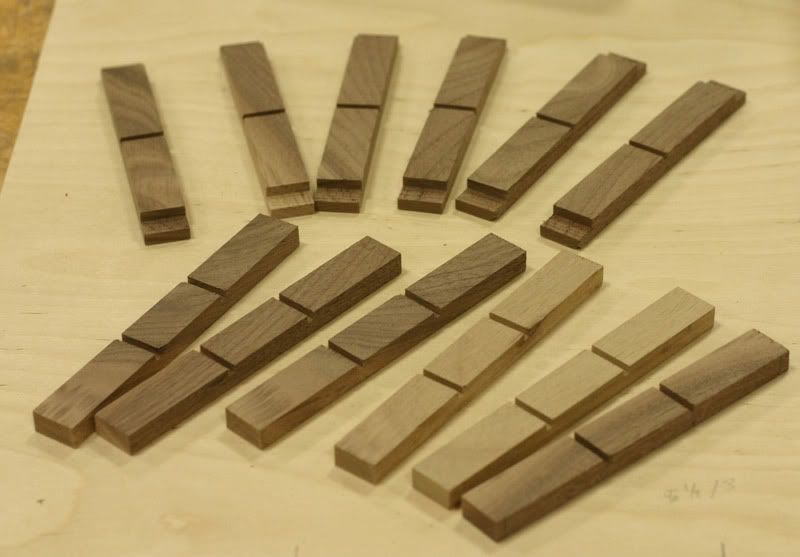
After cutting the middle panel to size I cut the maple pieces on a chop saw set at a 45 degree angle. It was painstaking work. I took multiple passes at cutting the pieces because they need to be exactly the right size and I didn’t want to cut them too short. Sometimes it would take me 6 or 7 passes to get it right. But it paid off; I only cut one piece too short.

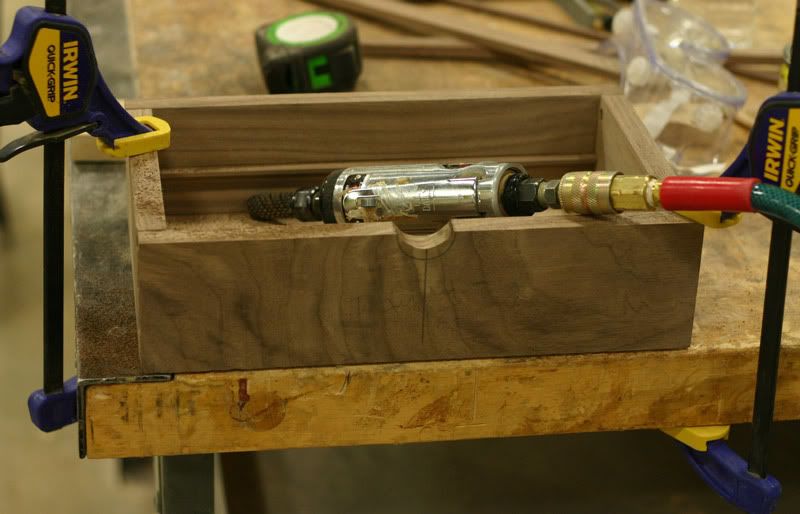
Then I glued the lids together.

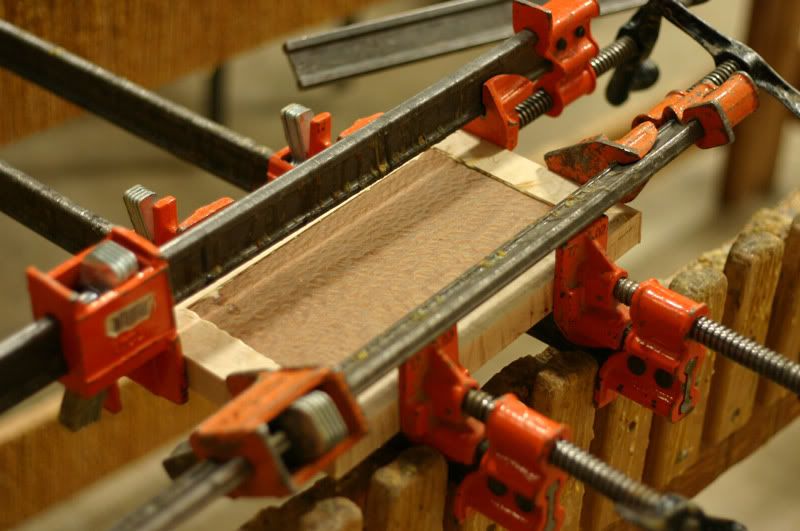
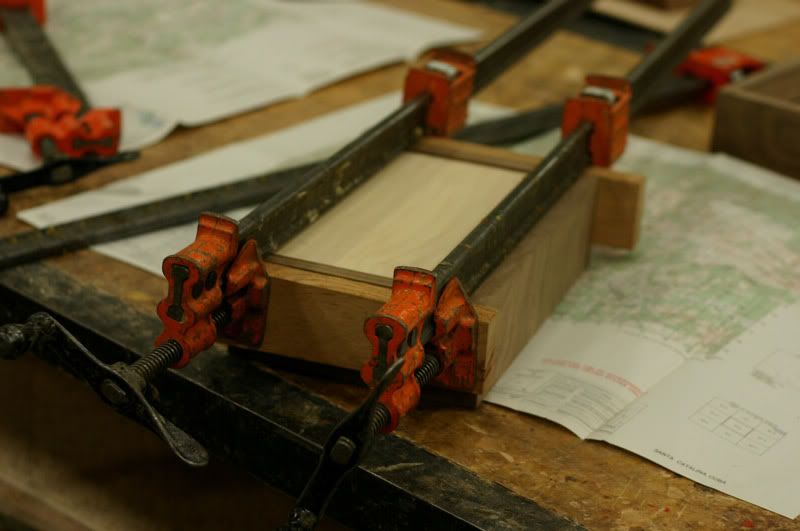
A lid in clamps being glued.

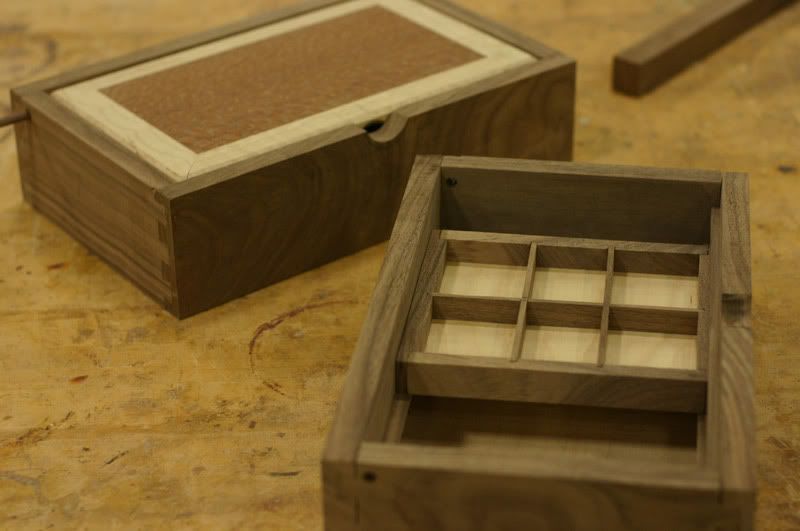
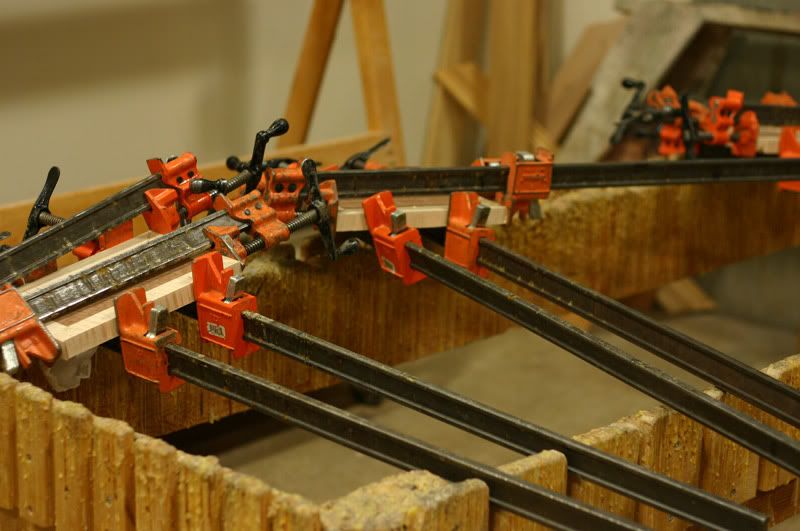
Three sets of gluey lid goodness.

My instructor was super nice and let me glue up even though there wasn’t enough time left during class. (We’re only supposed to glue up if there’s enough time in class to take our projects out of the clamps before class is over.) I was pretty desperate to get the lids glued this week so I can sand them next week. He said he would take care of the lids and put them in my locker the next morning. (Being one of only two girls in the class really pays off sometimes!)

There’s only four more classes left but I still think I’ll be able to finish on time (fingers crossed). I think it will mostly depend on what I can get done next week. One thing’s for sure: I’m going to be certain to bring my plans!
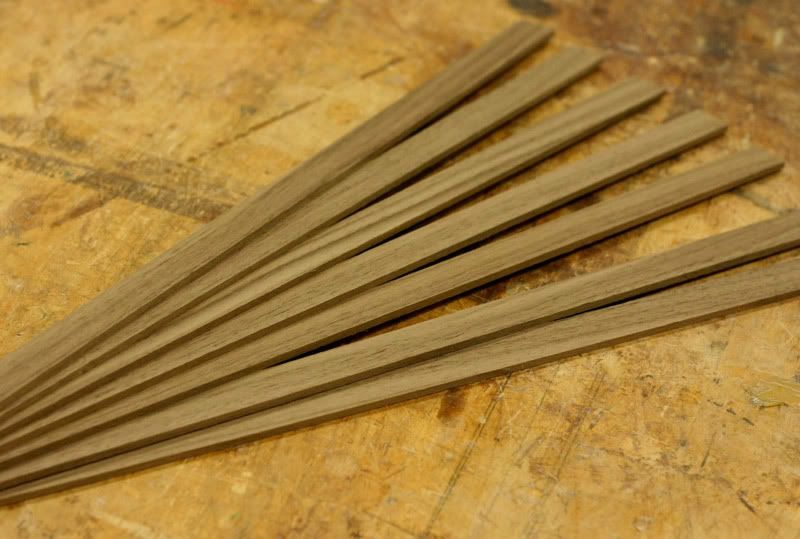
Jewelry Boxes: Update 3

Woodworking class was pretty fun this week. I was getting worried that I would run out of time and not be able to finish the jewelry boxes, but we have five more classes left and I think I’m in good shape since I got the boxes glued together this last week.

Sanding the insides of the boxes with a sequence of 80, 100, 120, and 150-grit sandpaper.

Making sure everything’s ready to glue.

I put a dab of glue in each of the tails and clamped the box together.

The assembled boxes.

Apparently when I cut the dovetails some of the pieces weren’t exactly flush in the jig; in the above photo you can see some gaps on some of the joints. My instructor said that he’ll help me shim the gaps with some slivers of walnut to fill them in.

After I got the boxes glued together I started cutting the curly maple and lacewood I’m going to use for the lids. Next week I’ll get the lids glued together and hopefully start working on the tray inserts.

Jewelry Boxes: Update 2

This last week I cut all of the grooves on the inside of the boxes. There were a lot to cut: all the pieces have grooves for the bottom of the box to fit in, the front and back pieces have additional grooves for tray supports, and each front piece also has a groove for a lid stop.

I cut the grooves using a router on a router table. It’s pretty foolproof and I ran multiple tests on scrap wood but I still messed up once. I hadn’t tightened down the fence enough and it slipped when I was cutting and so one groove was a little crooked.

I was SO sad and convinced that I had ruined a whole box but my instructor said it would be okay and then I realized that it would. Phew! (Some minor mistake like this usually happens at least once during every project of mine.)

Next week: sanding the inside of the pieces and (finally) gluing up the box.

Jewelry Boxes: Update 1

Well, I found my memory card. It was sitting on a package of socks I had bought for E (of course).

Anyway, these photos are from the first two weeks of class.

My plans and the raw lumber.

I decided to base the jewelry boxes off of these plans I found in an old copy of Woodsmith magazine. (Yes, I said “boxes.” I am, perhaps very foolishly, planning to make more than one.) The orange boards running vertically in the photo are African lacewood, a kind of pricey exotic, which I’m going to use on the lids. The boards running horizontally are walnut (a big favorite of mine) which the boxes themselves will be made out of.

The first week of class I planed and sanded the walnut down to 5/8″ thick and then cut the fronts and backs and ends to size. If I’m cutting two pieces that need to be the exact same size I like to tape them together and cut them at the same time to ensure they’re uniform.

A side piece and the front of the box in the dovetail jig.

This last Wednesday I cut the dovetails for the box joints. The plans called for another type of joint but I wanted to learn how to cut dovetails so I switched it up. I think dovetails can be very pretty. Because they’re very strong structurally dovetails are considered a sign of quality craftmanship and you’ll see them used in higher end kitchen cabinetry and furniture.

Cutting the dovetails with the router.

The cut dovetailed joint. The jig offsets the two pieces so when they’re flipped around they’ll fit together.

The cut dovetails. The jig I used cuts blind dovetails and so they will only be visable on the sides of the boxes.

When I finished cutting the dovetails for the three boxes without any major mishaps I breathed a big sigh of relief. Next I need to cut the grooves for the bottom of the box and tray supports, sand the insides, and glue the boxes together with the bottoms.